Wednesday 23 July 2014

Is it a penguin, duck or owl?!?

Another baby related post...  The next one won't be, I promise!  Last weekend was lovely, but long - we were celebrating the christening of my Godson (who unfortunately lives about 3.5 hours' drive away).  My Godson behaved really well all day, wasn't phased by any of it and loved all the attention!  I decided that I just had to make something for him as a present, and came across the towel set below in a magazine.  There were a few mistakes, for example in the "what you need" section several items were omitted, and after seeing it decided to buy the book it was taken from ("Made for baby" by DK) as there were many more lovely ideas.

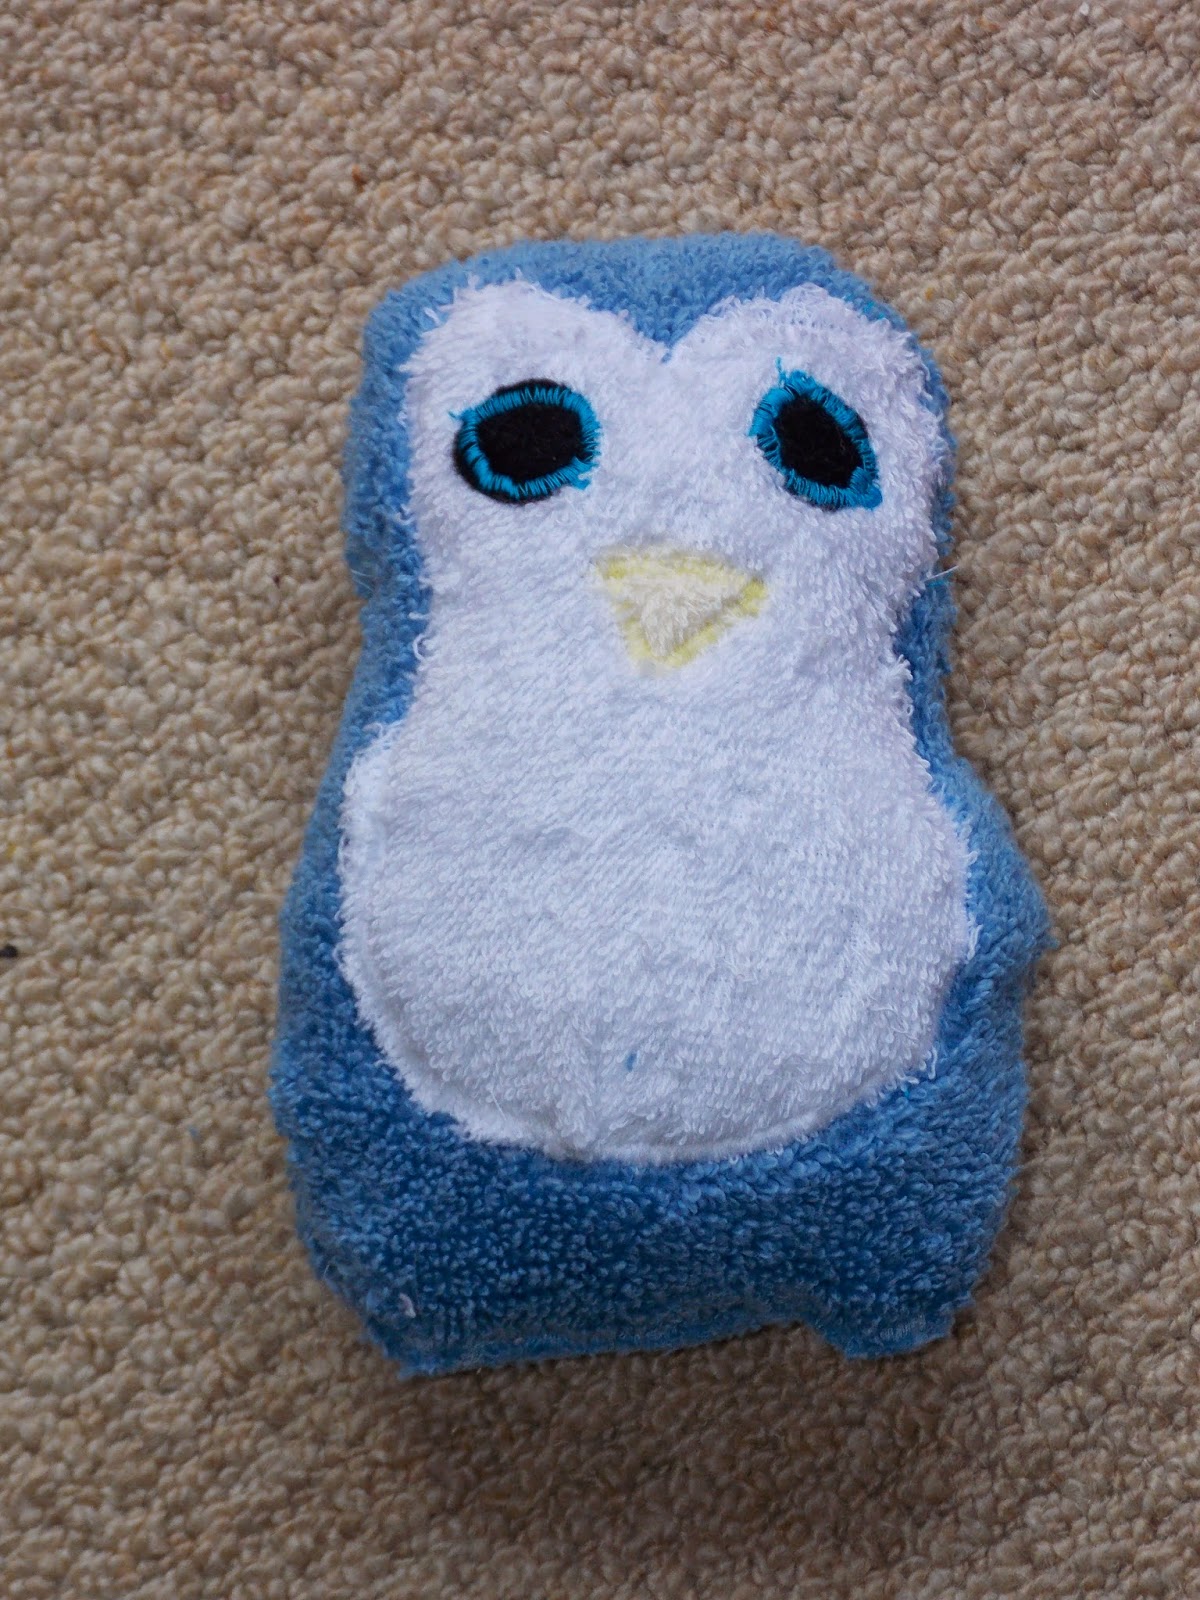
First, I guess you might be confused by the post title.  That's because it was meant to be a penguin set (as described by the book) but his mum decided it was an owl, and another relative a duck...  I'll let you make up your own mind!  This is the toy from the set:


And this is the towel (spread fully):


These two items were all made by taking a towel and flannels and using them as you would any fabric.  It was tricker than I expected - the towelling on the flannels kept getting stuck in my sewing machine!  A lot of frustration ensued, but at least the blue towel was easier to sew - probably because it was thicker.  My advice on sewing towelling-type material: choose something of a good quality that's fairly thick - it will be far easier to sew.

To make the features, shapes were cut from the towel / flannels and then zigzag stitch was used to sew the pieces together - it made a feature of the sewing and edged it nicely so hopefully it won't fray too much.  For example, this is a close up of the eye on the toy, which was edged in bright blue contrasting thread:


Once all the pieces were sewn together using that technique, the main towel was finished by edging it with bias binding.  This was far easier to sew, being cotton, although it did require careful feeding through to ensure that it was being sewn on both sides!

This is a closer picture of the hooded towel's "face" - you can see it was constructed in a similar way to the toy:


I think the set was appreciated by my Godson - at least he tried to bury himself in the towel!  The toy got a cuddle for a while too - hopefully he'll enjoy using it.

Anyway, that's it for this post.  Next time, I'll be continuing on the bird theme but moving away from baby stuff - it will also be a different kind of crafty stitches used!  Here's a sneaky preview:

Friday 18 July 2014

Green squares blanket

So I've had quite a crafty week!  A large chunk of this has been making my godson his christening present, which I'll post about next week once he's had it.  We also went bed shopping for the house we're trying to buy...  The one we liked will be nice and big so plenty of space under it for my craft supplies! 

So the topic of this week's post is a beautiful green baby blanket that I had a sneaky picture of in my last post.  It was a simple pattern, with alternating sections of knit and purl stitches to make a squares pattern, as you can see in this picture:


The yarn used is king cole comfort chunky, in shade 'Dill', if you're interested.  Its really soft, though knitting it in the warm weather possibly wasn't my best idea! It got very warm when it rested in my lap.  If I knit another, I think I'll do so in winter!

As the yarn is chunky, it was knitted on 7mm needles and so was really quick to make, despite being rather sizeable.  The yarn did split on a few occasions though, and the weight of it got to be considerable by the time I was using the third 100g ball - it's amazing how heavy it can feel when it's on the needles!

The edging was simple too - I'm not particularly practiced at picking up stitches, but luckily this didn't require it.  The edges (see the below picture) were done by slipping the first stitch then knitting the second of each row, then knitting the last two stitches on each row.

 
In total, it took a week to finish (and I don't get a lot of time to do such things during the week!) which means it would be perfect to make as a present for someone expecting a baby.  Mine, I suspect, will end up keeping me warm instead!

Thursday 10 July 2014

Knitted baby hats

Slightly delayed post today due to exam results - failed the one I wanted to pass, passed the one I thought I'd failed.  Not such a great day overall!  Might have to make something to cheer myself up...

I do have something to confess... I counted all my “on the go” knitting projects this week. Eighteen.  Then, I looked at the crochet ones I’ve on the go.  Three (which is much more reasonable!).  And I’ve one sewing project on the go.  Which has made me realise: I need to finish more things!

This week has actually been pretty good for finishing things.  The only problem: all were projects started this week too!  As I alluded to in my last post, I’ve been making some baby hats.  Not for anyone in particular, but more because I wanted an easy project that I could finish relatively quickly.  Plus, on a trip to a craft shop whilst staying at my in-laws, I spotted some lovely green yarn that went together really well – my first thought was of a zigzag pattern baby hat I’d seen in a magazine.  I'm sure at some point I'll find myself in need of a hand knitted baby hat...  And I'll be ready if I do!

First thing’s first though, I made a stripy one with a kit that came with the same magazine. It is a simple rib-edged hat with easy decreases for shaping. It has matching mittens and booties too, but the former still needs sewing together, and the latter I haven’t started yet.  Hopefully they’ll be a topic of a future post…

Back to this stripy hat.  Below is a picture:


It was remarkably quick to knit, and quite easy to sew together – just one seam along the back.  The worst bit was sewing in all the ends!  The yarn has a nice shiny look to it, but went a little thin on the pink.  I’m still pretty happy with it though – my first baby hat!

The second was quick to follow.  With this, the colourwork isn’t simple stripes, it’s a fair isle pattern.  Which sounded really scary – I’d never tried that before and it always seemed so complicated.  This pattern was a good beginner’s choice though, as there were only ever two colours at once and it was a fairly straight-forward pattern.  It also has the advantage of being quite small:


Once I got to grips with carrying the yarn loosely across the back, it wasn’t too hard at all, though to start with I think I pulled it a little tight, so my hat doesn’t really sit flat.  Hopefully once they’re on a baby’s head you won’t be able to notice!  I also managed to finish it in an afternoon, which is great for me as I usually start projects, then once they’re put down I start on something else…  Hence the eighteen on the go!  So projects I can do in one sitting are ideal for my short attention span.  The yarn itself is acrylic, and though it was all the same brand the greens were somewhat softer than the white...  Still, it was good to knit with and has a nice stitch definition - for £1.75 a ball it's great value.  There was also plenty of wool left at the end, as the three balls were 100g each, so I've started a cardigan... 

Anyway, I'll just leave you with a sneaky look at what I've been knitting this week, that I'll post about next Thursday...


Thursday 3 July 2014

My very first post... Meet Noel the Gnome

So, I'm pretty new to this.  I did try and blog during my wedding planning, but everything got a bit crazy so I think in over a year there were only three posts...  I plan on this being updated a lot more regularly (hopefully once a week) so we'll see how it goes.  I've a lot of projects on the go (at least 14 knitting ones I can think of!) so each time I finish one I'll let you know; I'm sure I can manage one a week!

To start it off: I'm going to cheat a bit.  This is Noel the Gnome.


I made him in October last year with a free kit on a magazine, and though he looks finished I still need to add the bell on his hat...  This is what I mean about being terrible at finishing projects!  He knitted up quite quickly, in fact I made him in an afternoon whilst my husband was out playing hockey.  It was my first project not using standard plain wool - the eyelash yarn used was a bit awkward to start with!  It was only used for his beard though, and that was sewn on separately, so it wasn't too much of a chore.

Despite Noel being made as a Christmas decoration, he still sits on my bookcase.  I've gotten quite used to having him there, it would now seem odd if he was moved!

Anyway, I've now got to get on with work, so hopefully you like Noel and I'll post at the weekend about the baby hats I've been making this week...